
The simple script workflow can help you with asking your customers different questions, for personal data, for an opinon or other interesting topics. This data can then be used by the chatbot itself, or - if you want - also be saved directly in Userlike.
As an example, we will guide you through a workflow that asks for your contacts data to then have it sent to your customers contact profile at Userlike.
This feature was previously called “Automators”, this is why the screenshots below show the term “Automator” instead of “Workflow.
To add a new workflow, click on the “+” symbols
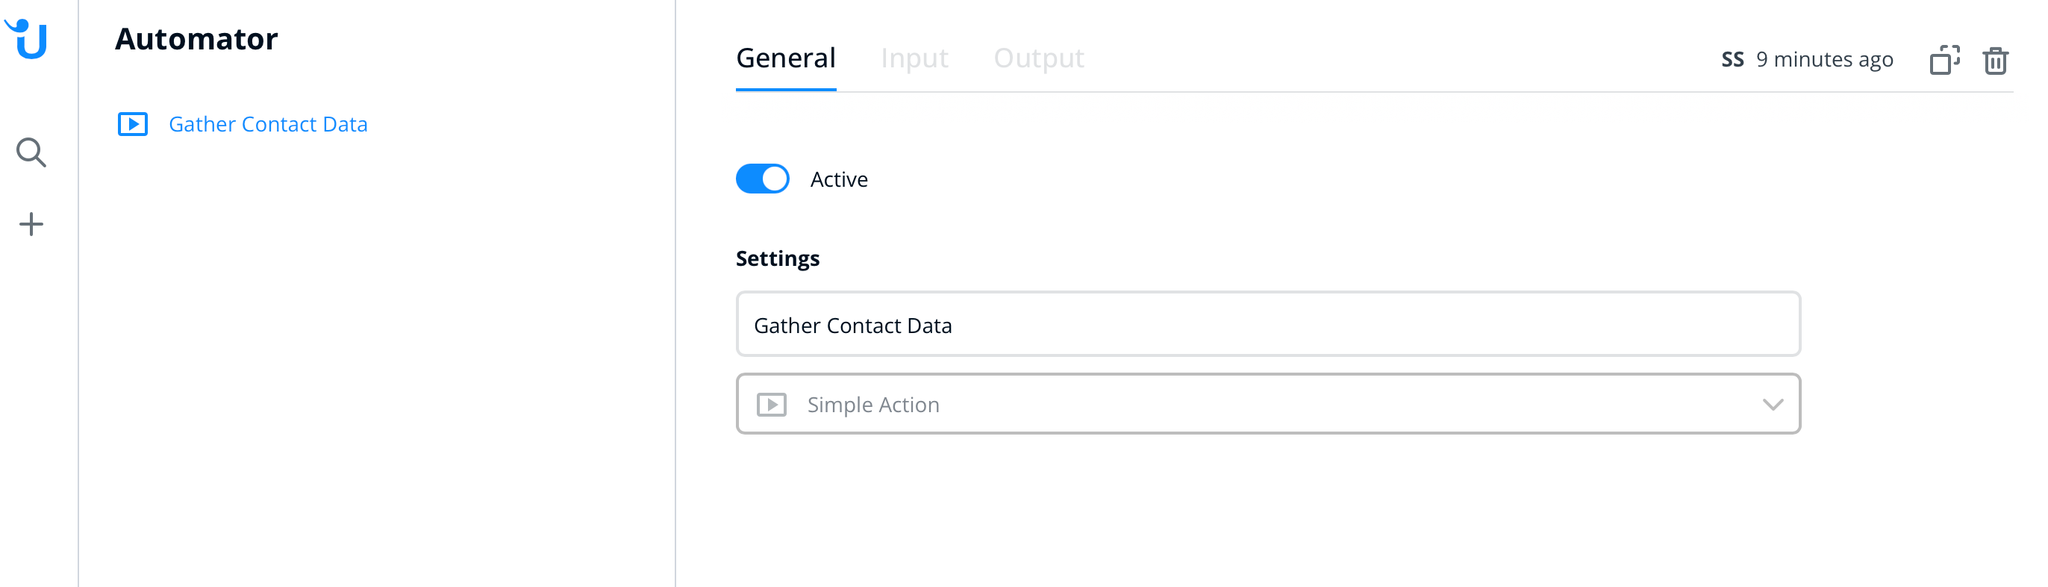
Give your workflow a name. For now, only “simple action” workflows are available.
Set an (optional) submit button and choose the fields/options you want to display your customers. You can also display additional information like images, videos, links and more.
In our example we want the customers to enter their data, so we choose 1: input field
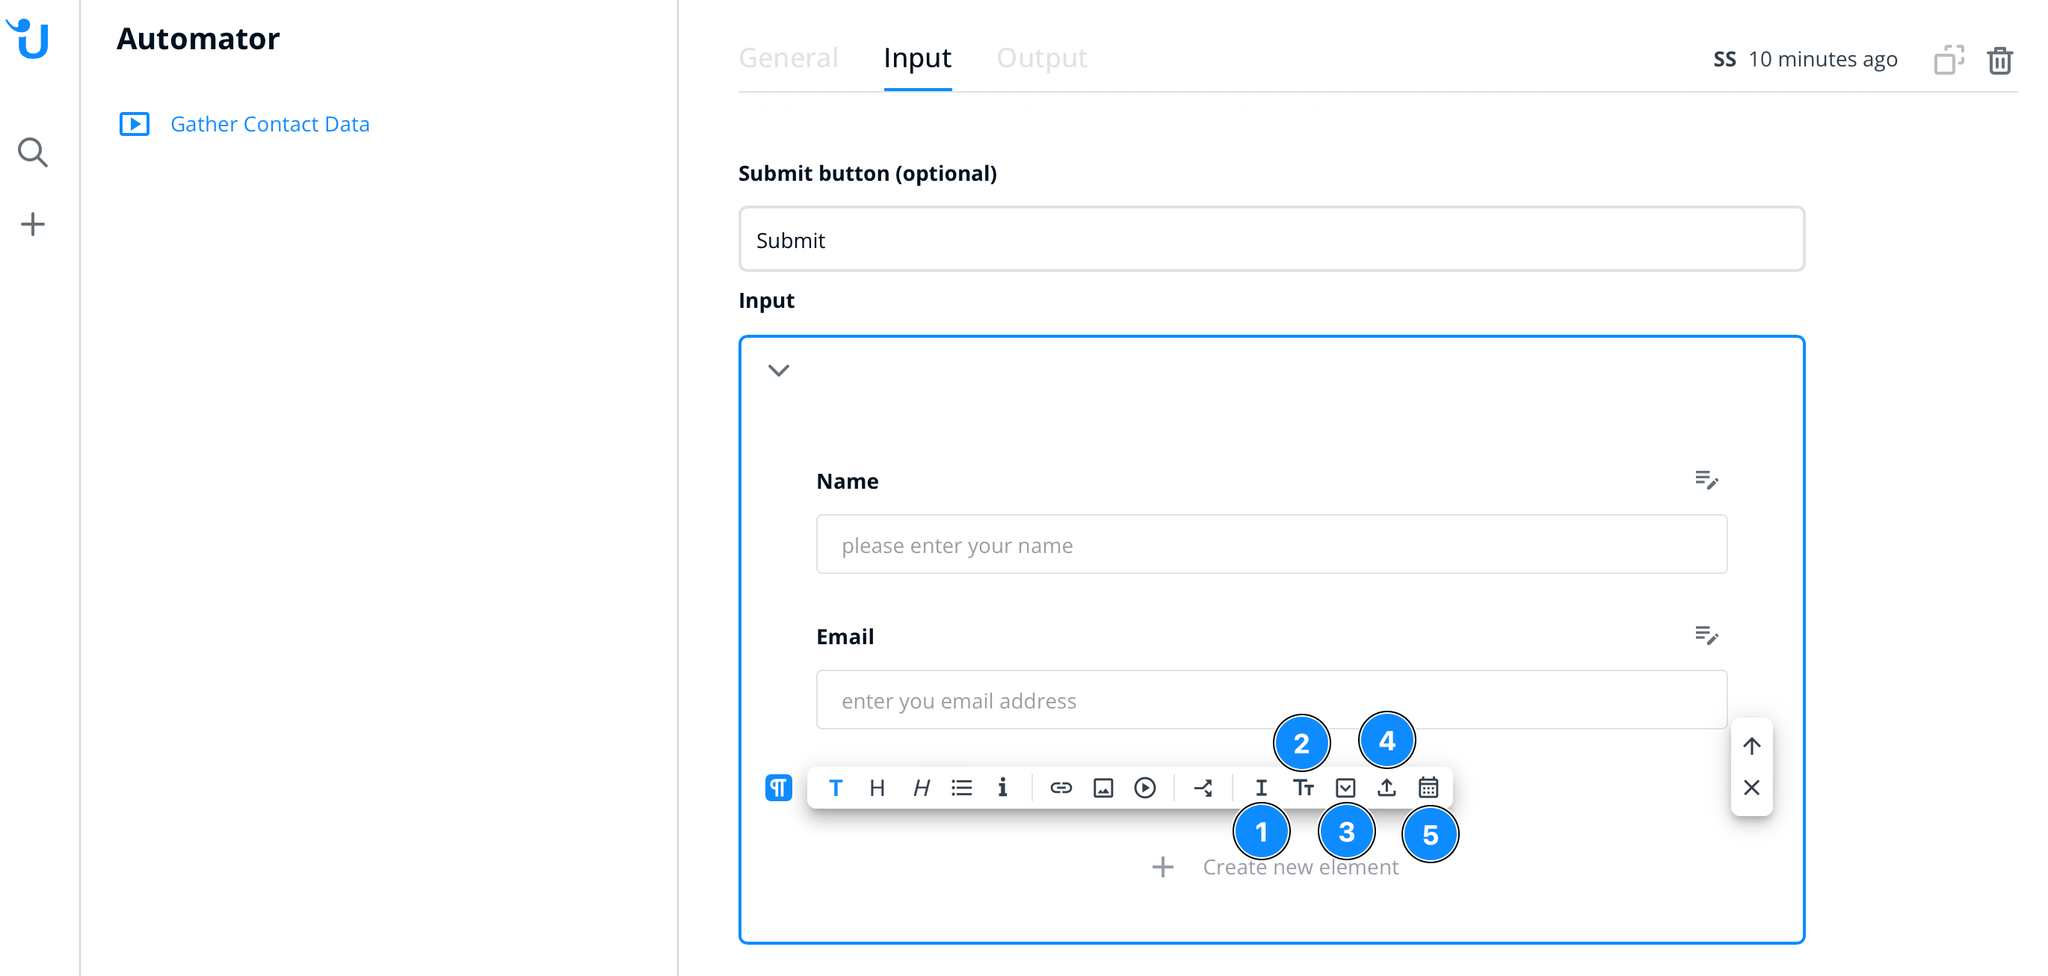
1: Input field
2: Text area
3: Select option
4: Upload
5: Date picker (for the chatbot it is a “normal” input field, for Smart FAQ and contact form suggestions it is a date picker tool)
(for an explanation of the options 2-5 you can refer to the “?”-Symbol directly in the settings area of the chosen option)
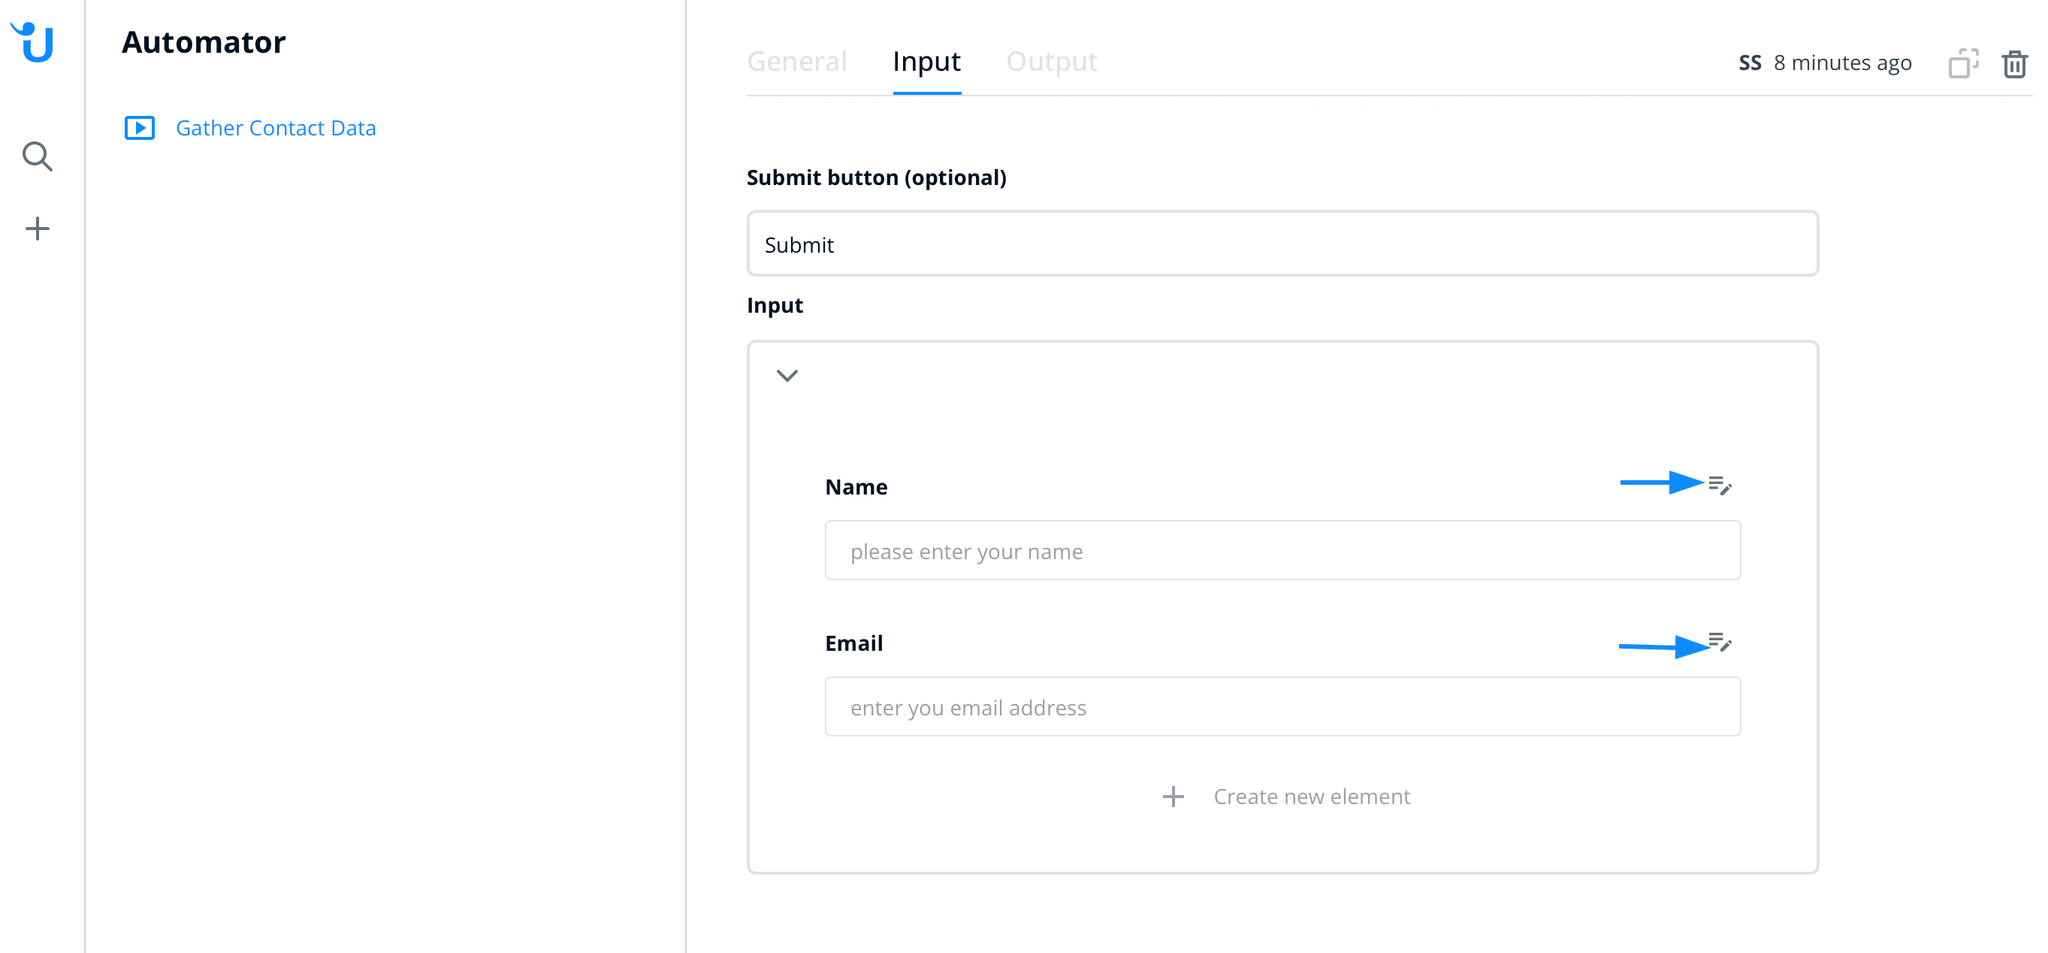
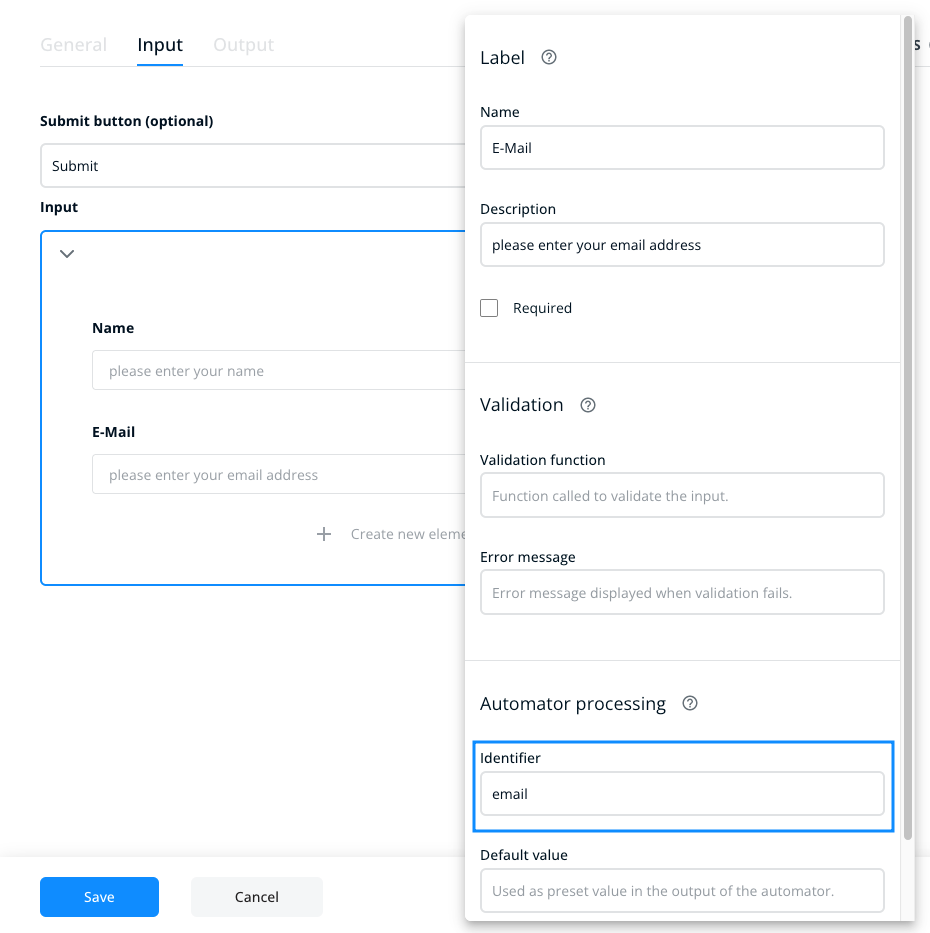
To open the field settings click on the button to the right. Those settings are important as you also define the field identifier there.
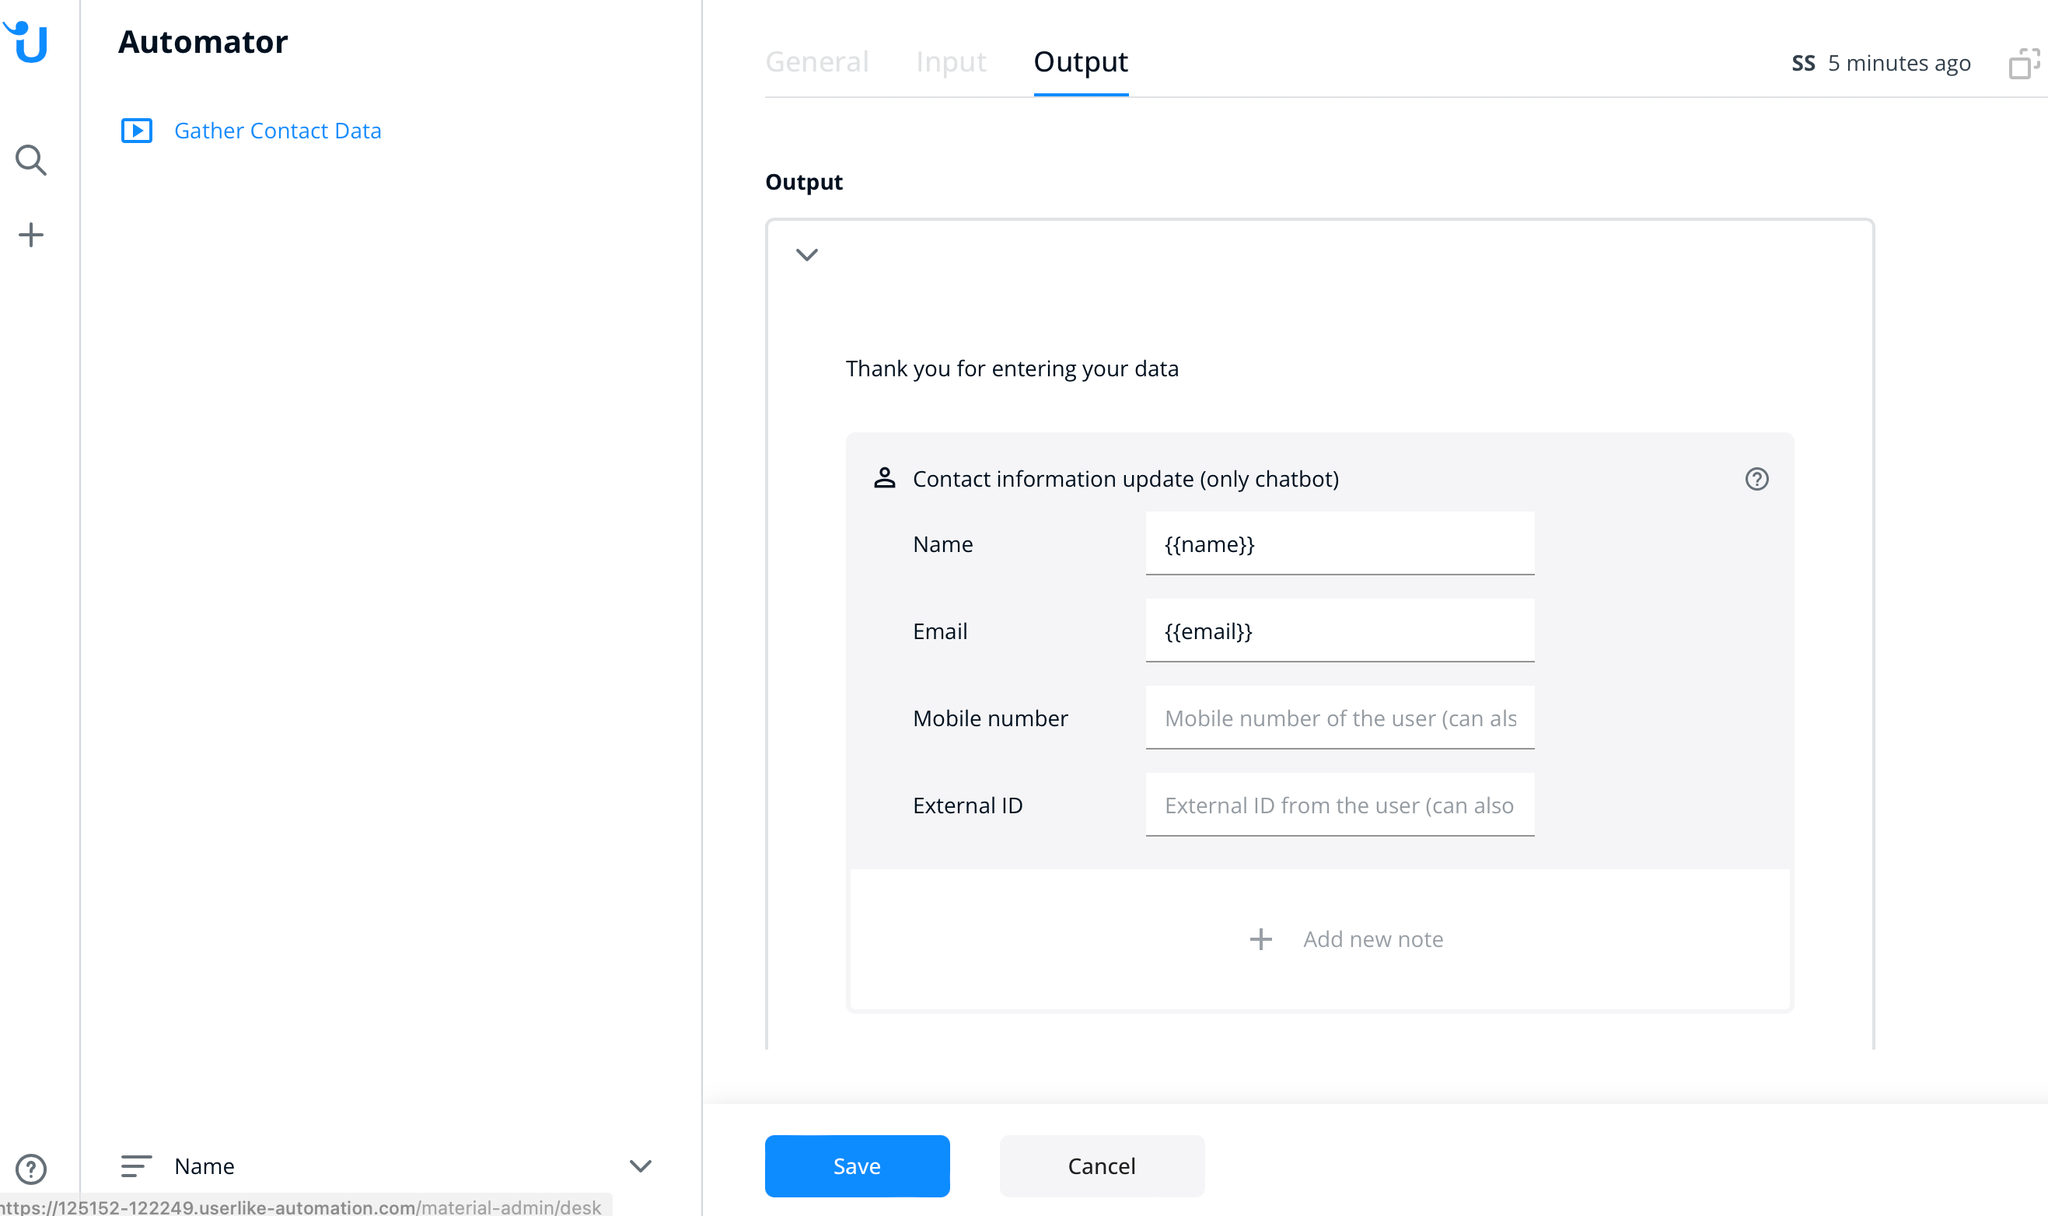
Your last step is setting the output of your workflow. Click on the output tab at the top.
Choose a message you want to display your customers after they finished the steps you set under the “Input” tab.
Add a new element and choose the “Contact information update” to send the values directly to your customers Contact profile in Userlike.
Make sure you put the field identifier name exactly like set before and put it in double brackets {{ }} like shown in the screenshot below
Save your settings with the blue “Save” button at the bottom of the page.
After the workflow was saved, you can then add it to any answer in the knowledge base using the designated icon from the content menu as described here.