
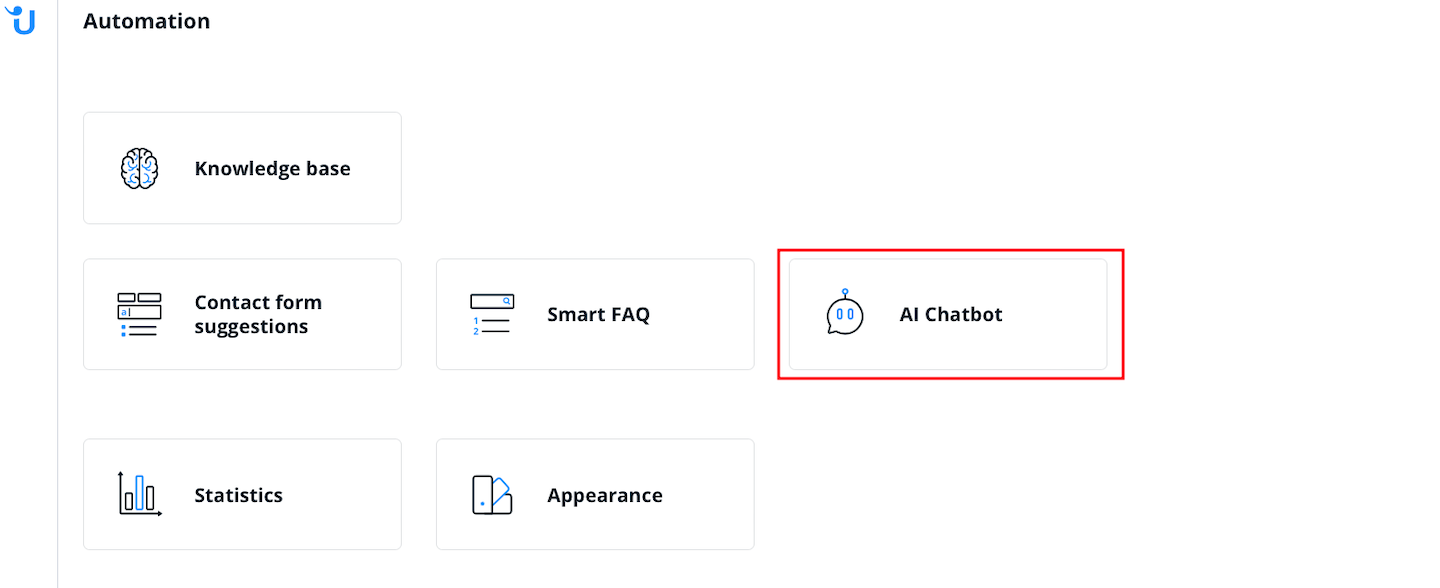
Click the AI Chatbot button to access its settings.
Add your new AI chatbot by clicking the “+” symbol.

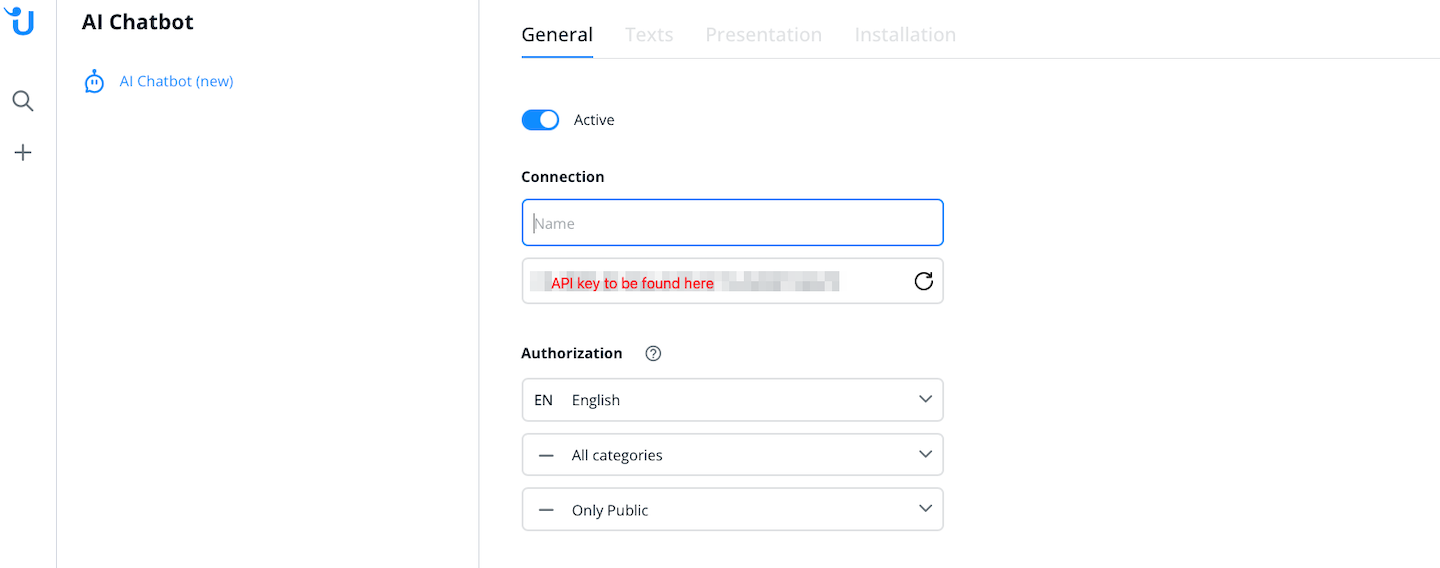
Select the “General” settings and you’ll see the API Key. The name you add in the “Name” text field is only used internally to help you stay organized.
You can also:
- Choose a language.
- Select which folders/categories the bot can access.
- Set the visibility mode.
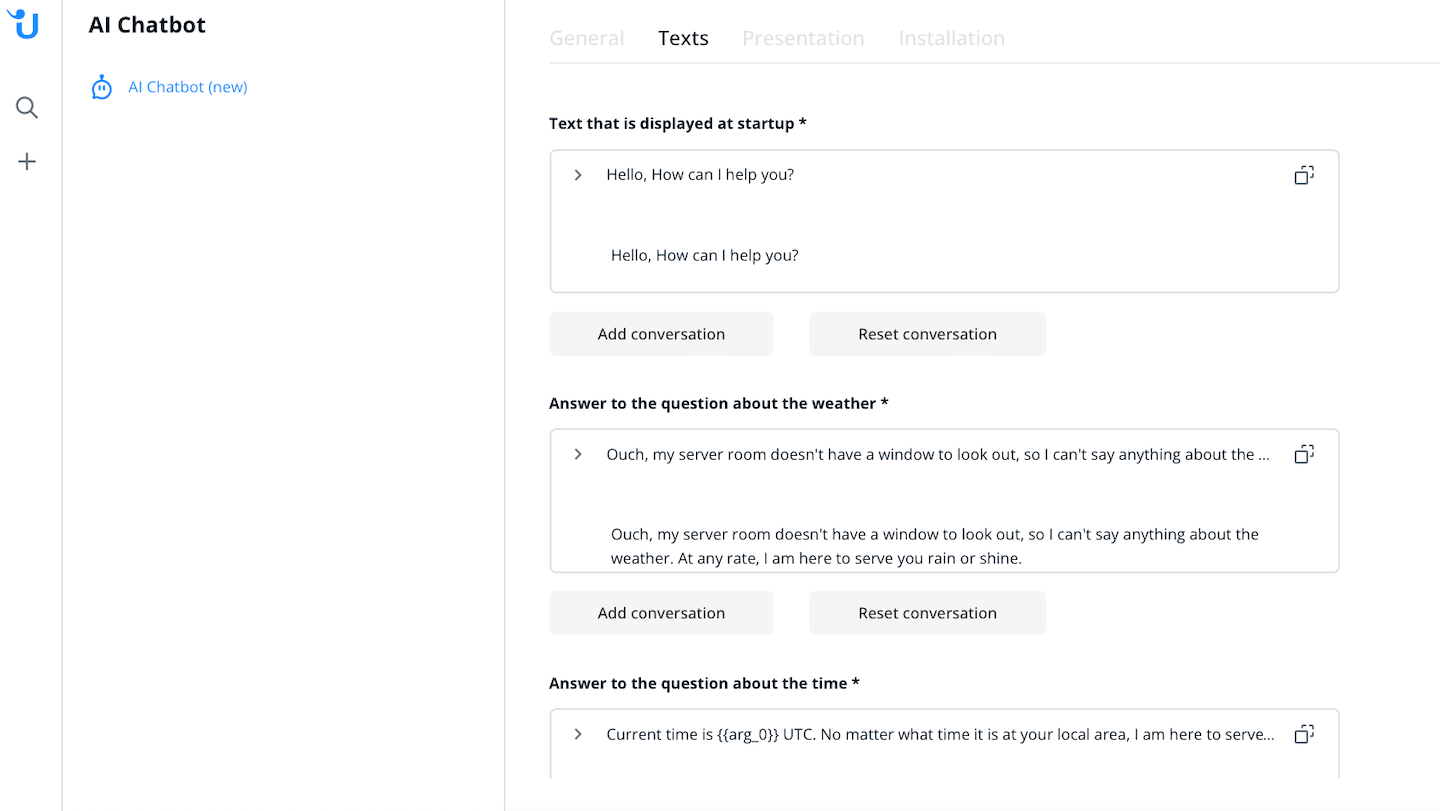
In “Text” you can add or edit the chatbot’s standard replies. These are general replies, like small talk about the weather or replies to certain situations, like forwarding to a human operator. All of the fields have to be filled in order for the bot to work properly.
Under “Presentation” you can edit the chatbot’s visual appearance. Here you can give your chatbot a name that it will use in conversations. You can also define how many follow-up questions the bot will ask when it doesn’t completely understand the request.
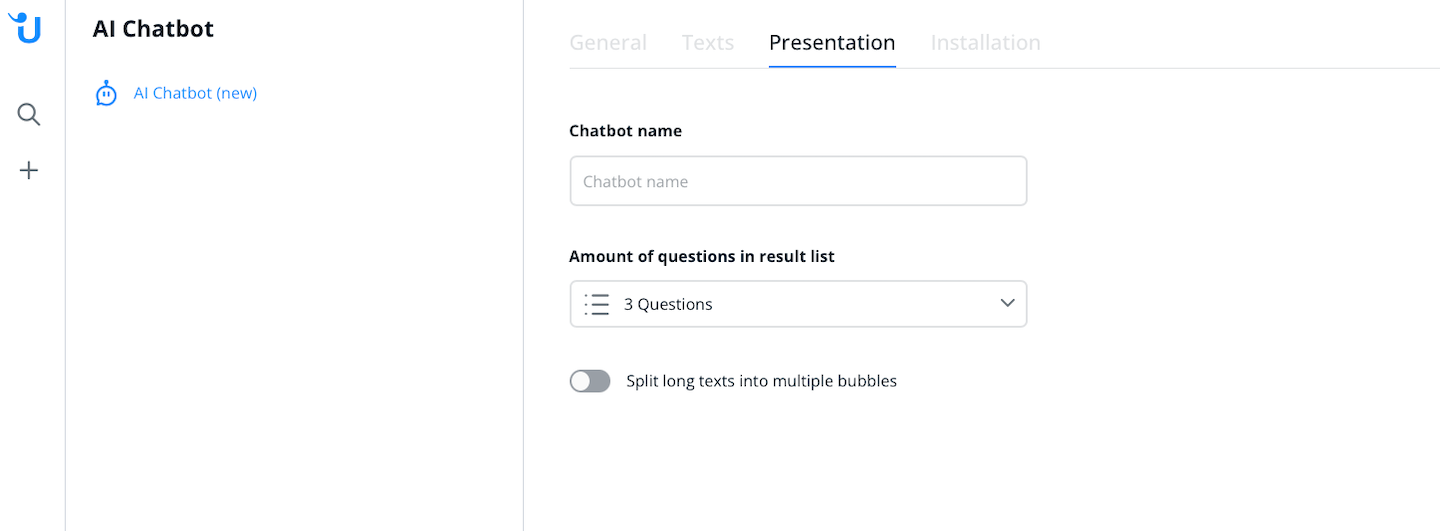
Long texts can automatically be split into multiple chat bubbles. A sentence alone will not be split, though. However, we recommend that all of your answers should already be as short and straight to the point as possible.
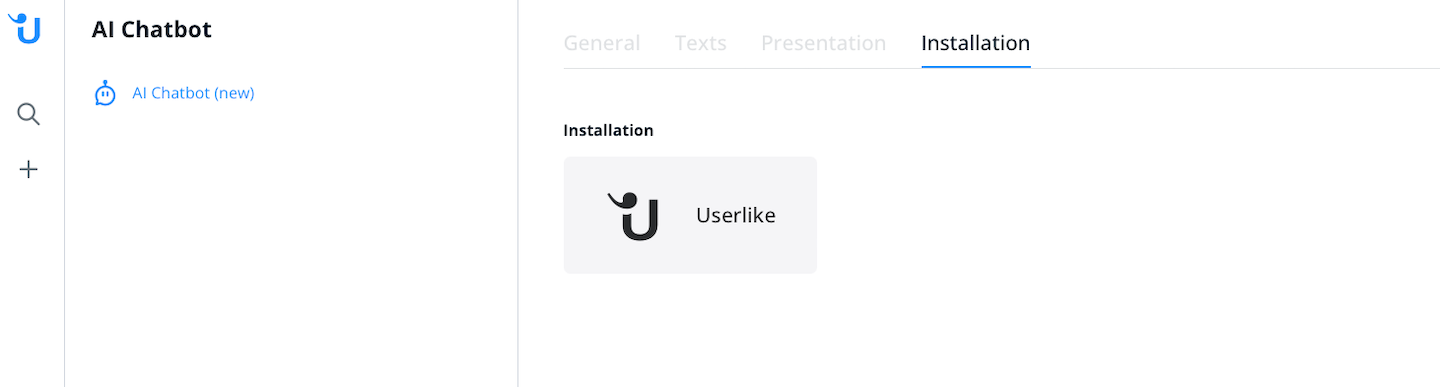
Under “Installation” you will see a tutorial button. Just click on it and you will find instructions on how to activate the AI chatbot and use your unique webhook URL.
Once you’re done with the initial setup inside the automation hub, you’ll need to add a chatbot operator to your Userlike Dashboard. Head to Team > Chatbots or click here.
On the right side there is a button called "+ Add chatbot". When you click this button, the settings for the new AI chatbot will open. A first and last name can be entered.
Choose whether you want to add an API or a Logic Bot. In this case it would be an API bot.
You can choose from four different bot behavior modes:
- Service time: The bot is only online outside your defined service times.
- Backup: The bot is always online but only receives conversations when no human operators are online.
- Human: The bot is always online and receives conversations exactly like a normal human operator.
- Firewall: The bot is always online and receives all conversations (e.g. to categorize and forward them).
After that, you need to select an operator group for the AI chatbot and the language will set accordingly. Each AI chatbot can support one language. So if you would like to offer the chatbot in German and English, you need to create two AI chatbots.
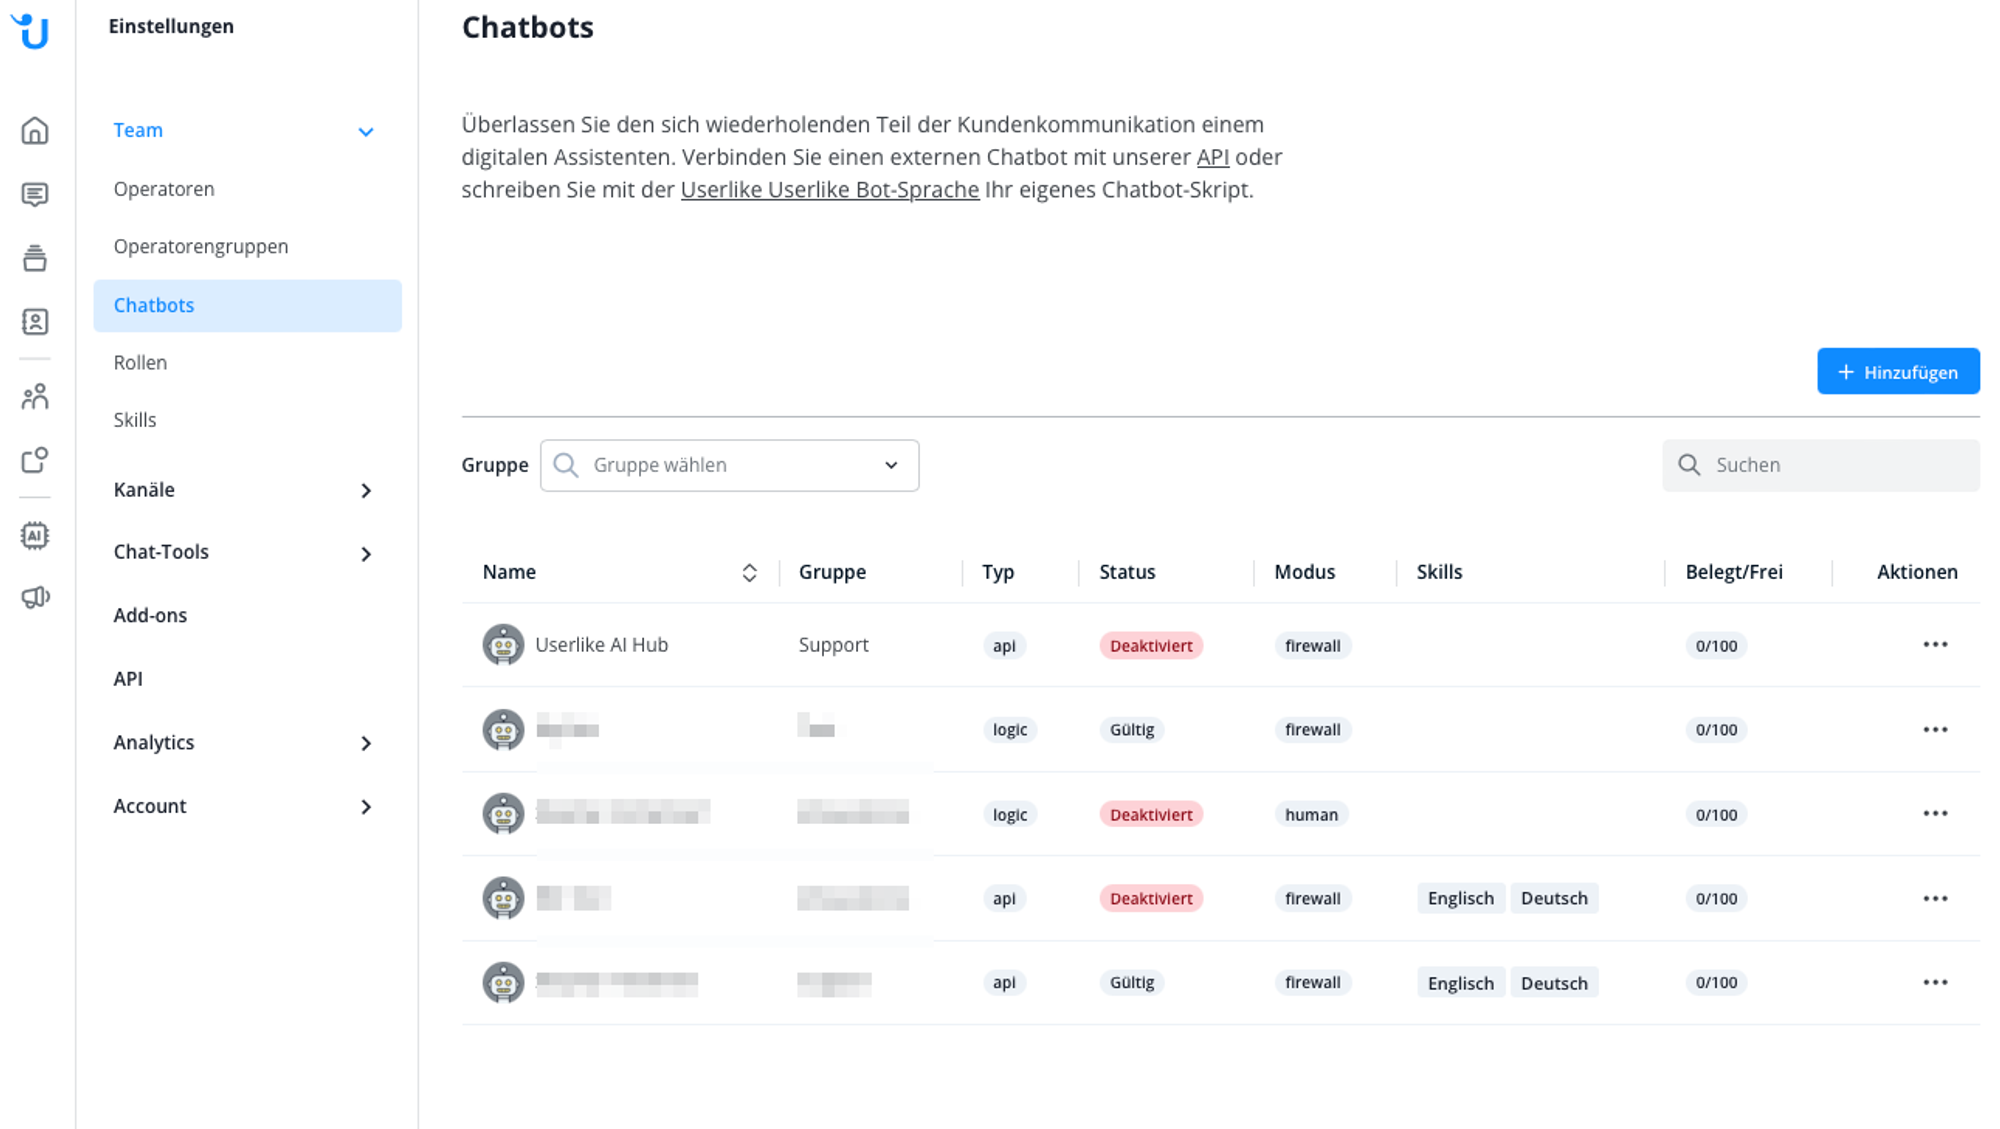
Once these steps are done, the chatbot is created. However, the configuration is still labeled as "invalid".
Clicking on the chatbot shows that the API endpoint needs to be configured.
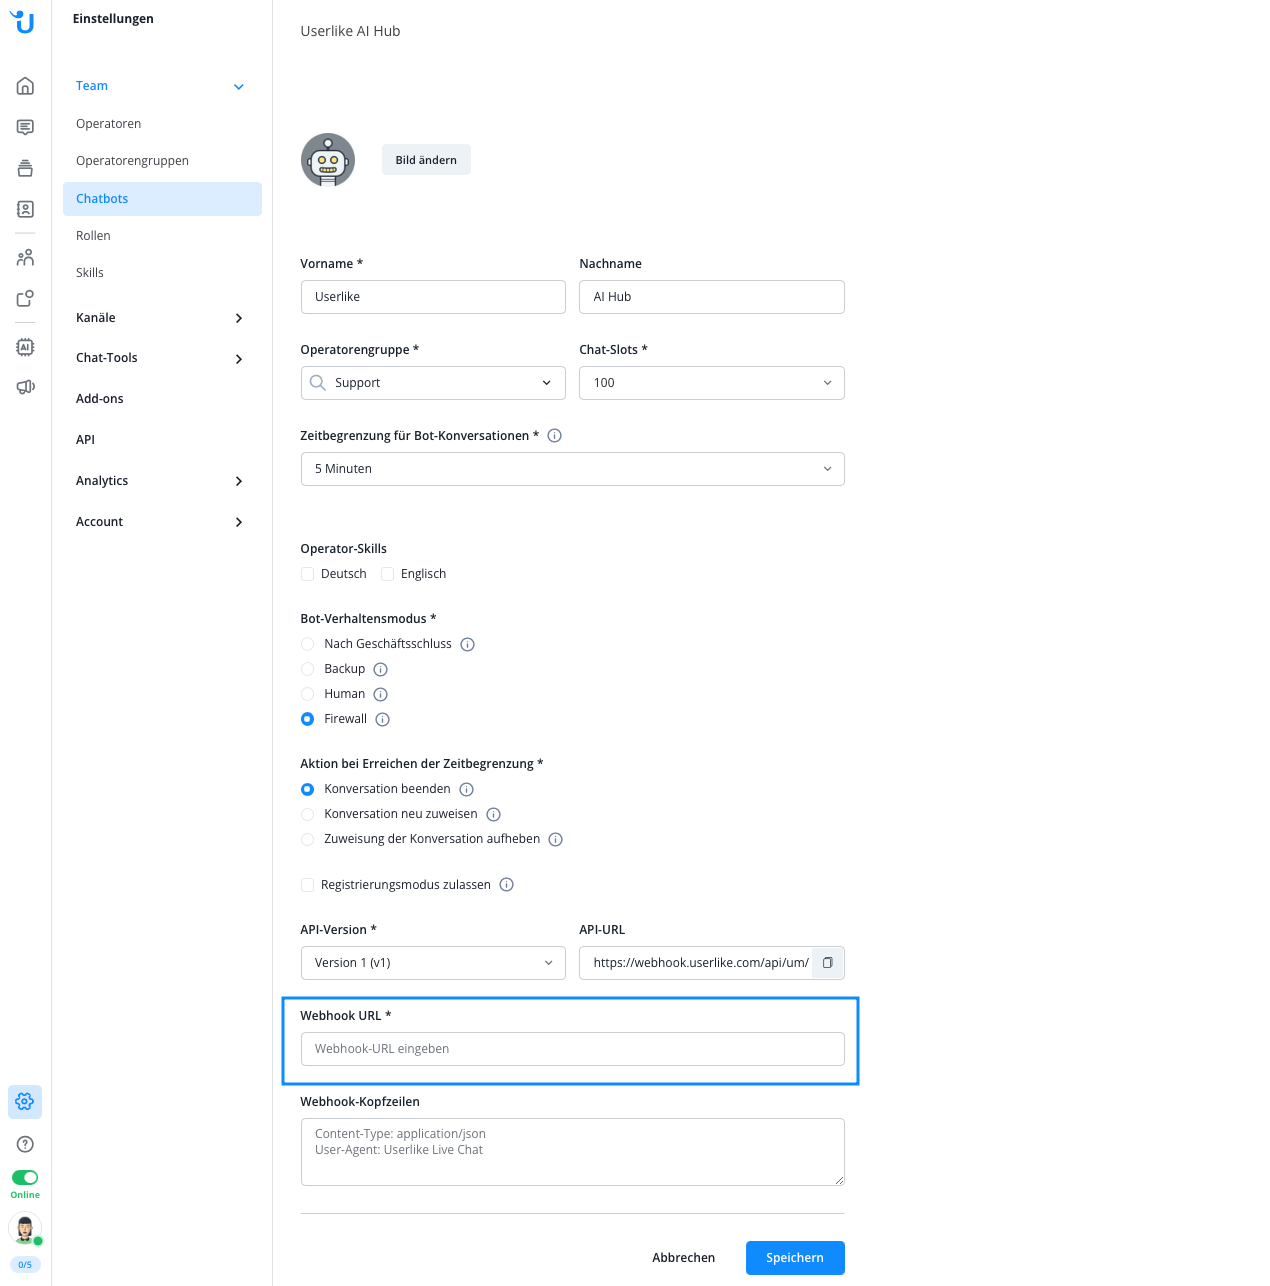
To finish the configuration, click on "API". The chatbot requires a webhook URL.
Your webhook URL is displayed in the “Installation” tab of your AI Chatbot settings page, and can be copied.
Once you enter the webhook URL, click "Update". The configuration is now up to date and instead of "invalid", an "OK" is displayed.
Additional settings
You can make additional settings to your AI chatbot by clicking on the chatbot under "Profile". Here you can edit the name of the AI chatbot or change its profile picture.
You can also change the chat slots. This determines how many chats the chatbot can have at the same time. In addition, you can set a timeout. If the conversation has not continued for the set time, the AI chatbot will end the conversation, set its availability to "unassigned", or forward the contact to an operator.
Besides with the AI Automation Hub, we offer two other options to add a chatbot to your Userlike Account:
